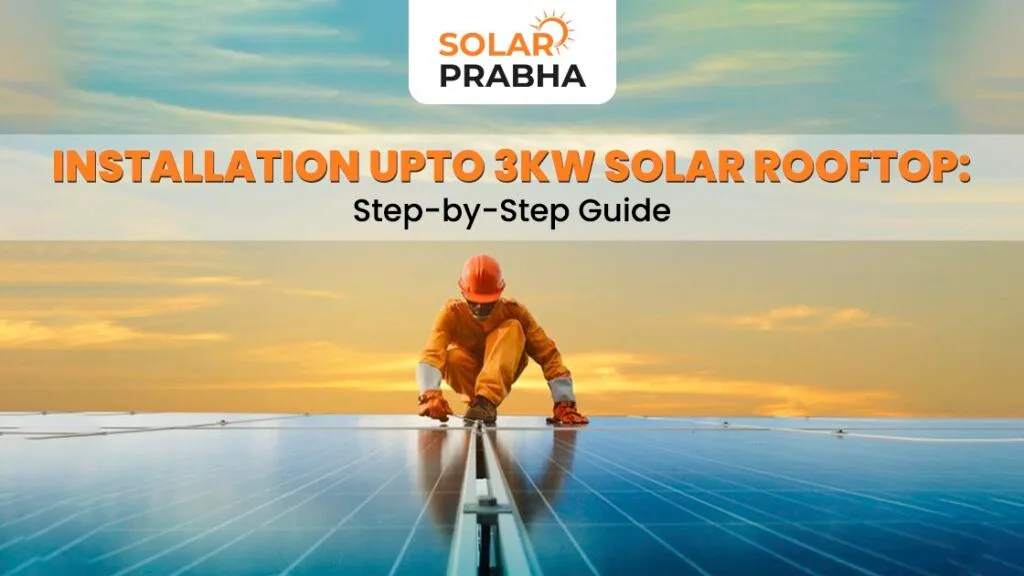
Installing a solar system at home is one of the smartest decisions you can make today. It helps you save money on electricity bills, reduces your dependence on the power grid, and supports a cleaner environment. A 3kW solar system is a perfect choice for small to medium-sized homes, especially for families that use common appliances like lights, fans, TVs, refrigerators, and washing machines.
If you are searching for a clear and simple guide on how to install 3kw solar system, this article is for you. Here, you will learn everything in easy language, from understanding the basics and checking your home’s suitability to step-by-step installation and maintenance tips. By the end, you will feel confident about installing a 3kW solar system without any hassle.
What Is a 3kW Solar System?
A 3kW solar system is a solar power setup that can generate up to 3 kilowatts of electricity under ideal sunlight conditions. It usually includes:
-
Solar panels
-
Solar inverter
-
Mounting structure
-
DC and AC cables
-
Junction boxes
-
Earthing and safety equipment
On average, a 3kW solar system can produce about 12 to 15 units (kWh) of electricity per day, depending on sunlight availability and location. This amount is enough to cover the daily energy needs of a typical household.
Who Should Install a 3kW Solar System?
A 3kW solar system is suitable for:
-
Small to medium-sized homes
-
Families with monthly electricity bills between ₹2,000 to ₹4,000
-
Houses with enough roof space
-
People looking to reduce electricity costs and carbon footprint
If your daily electricity usage is around 10 to 15 units, a 3kW system can be a great fit for you.
Benefits of Installing a 3kW Solar System
Before moving into the installation process, let’s understand why installing a 3kW solar system is a good idea.
1. Lower Electricity Bills
Once installed, your solar system generates free electricity from sunlight. This reduces your dependence on grid power and cuts down your monthly electricity bills.
2. Environment-Friendly
Solar energy is clean and renewable. It reduces pollution and helps fight climate change.
3. Low Maintenance
Solar systems require very little maintenance. Regular cleaning and basic checks are enough to keep them working efficiently.
4. Long Lifespan
Solar panels usually last 25 years or more, making them a long-term investment.
5. Energy Independence
With a solar system, you become less dependent on power cuts and rising electricity prices.
Types of 3kW Solar Systems
There are mainly three types of solar systems you can choose from:
1. On-Grid Solar System
This system is connected to the government electricity grid. Excess power generated is sent back to the grid, and you get credit through net metering. It is the most cost-effective option.
2. Off-Grid Solar System
This system works independently and includes batteries to store electricity. It is suitable for areas with frequent power cuts or no grid supply.
3. Hybrid Solar System
This system combines both on-grid and off-grid features. It connects to the grid and also has battery backup.
Things to Check Before Installing a 3kW Solar System
Proper planning is very important for smooth installation. Here are some key points to consider:
1. Roof Space
A 3kW solar system usually requires about 180 to 220 square feet of shadow-free roof space. Make sure your roof is strong, clean, and free from shade.
2. Sunlight Availability
Your roof should receive direct sunlight for at least 5 to 6 hours daily for best performance.
3. Roof Direction and Angle
South-facing roofs are ideal in India. The angle of installation should allow maximum sunlight exposure.
4. Structural Strength
Ensure your roof can bear the weight of solar panels and mounting structures.
5. Local Rules and Approvals
Check local regulations, net metering policies, and required permissions before installation.
Step-by-Step Guide on How to Install 3kW Solar System
Now let’s understand the complete installation process in simple steps.
Step 1: Site Inspection and Energy Assessment
A professional installer first inspects your roof and checks your electricity usage. This helps in:
-
Selecting the right type of system
-
Planning panel placement
-
Estimating power generation
This step ensures that your system is designed properly.
Step 2: System Design and Planning
Based on the inspection, the installer designs the system layout. This includes:
-
Number of solar panels
-
Inverter capacity
-
Wiring plan
-
Mounting structure design
Proper planning ensures high efficiency and safety.
Step 3: Choosing the Right Components
Selecting quality components is very important for long-term performance.
Solar Panels
High-efficiency panels generate more power and last longer. Always choose panels with good warranty and certifications.
Solar Inverter
The inverter converts DC power from panels into AC power for home use. Choose a reliable inverter with safety features.
Mounting Structure
Strong and rust-free mounting structures ensure stability and long life.
Cables and Safety Equipment
Good-quality cables, earthing, and surge protection devices ensure safety and reduce power loss.
Step 4: Installation of Mounting Structure
The mounting structure is fixed firmly on the roof. It should be:
-
Strong
-
Properly aligned
-
Corrosion-resistant
Correct installation ensures that panels stay stable during wind and rain.
Step 5: Solar Panel Installation
Once the structure is ready, solar panels are mounted carefully. They are aligned at the right angle to capture maximum sunlight.
Each panel is securely fixed to avoid movement or damage.
Step 6: Wiring and Electrical Connections
Now, DC cables connect the solar panels to the inverter. AC cables connect the inverter to your home’s electrical system.
Proper wiring ensures:
-
Smooth power flow
-
High efficiency
-
Electrical safety
Step 7: Inverter Installation
The inverter is installed at a cool, dry, and well-ventilated place. It should be easily accessible for monitoring and maintenance.
Step 8: Net Meter Installation (For On-Grid Systems)
A bi-directional meter is installed to track electricity sent to and received from the grid. This allows you to earn credits for excess power.
Step 9: Testing and Commissioning
After installation, the entire system is tested to ensure everything is working properly. This includes:
-
Voltage testing
-
Power output checks
-
Safety inspections
Once approved, your system is ready to generate clean energy.
Cost of Installing a 3kW Solar System
The cost of a 3kW solar system depends on several factors, including:
-
Type of system (on-grid, off-grid, hybrid)
-
Quality of panels and inverter
-
Installation complexity
-
Location
On average, the cost can range from ₹1.5 lakh to ₹3 lakh. Government subsidies may reduce the total cost significantly for residential users.
Government Subsidy and Net Metering Benefits
In many regions, government schemes offer subsidies for rooftop solar installations. This can reduce your upfront cost.
Net metering allows you to:
-
Export excess electricity
-
Earn credits
-
Reduce monthly bills further
Check your state’s solar policy to understand available benefits.
Maintenance Tips for 3kW Solar System
A solar system needs minimal maintenance, but regular care helps in better performance.
1. Panel Cleaning
Dust and dirt reduce power generation. Clean panels every 10 to 15 days using water and a soft cloth.
2. Regular Inspection
Check wiring, inverter display, and mounting structure every few months.
3. Monitoring Power Output
Track daily energy generation using the inverter display or monitoring app.
4. Professional Servicing
Schedule yearly maintenance by a trained technician for best performance.
Common Mistakes to Avoid During Installation
Avoiding mistakes helps you save time, money, and effort.
1. Poor Site Selection
Shaded areas reduce system efficiency.
2. Low-Quality Components
Cheap products may reduce performance and lifespan.
3. Improper Wiring
Bad wiring can lead to power loss and safety risks.
4. Ignoring Safety Measures
Proper earthing and surge protection are essential.
How Much Power Can a 3kW Solar System Generate?
A 3kW solar system can generate:
-
12 to 15 units per day
-
360 to 450 units per month
-
4,000 to 5,400 units per year
This depends on sunlight, location, and system efficiency.
Is a 3kW Solar System Enough for Your Home?
A 3kW solar system is usually enough for homes using:
-
Lights and fans
-
Television
-
Refrigerator
-
Washing machine
-
Water pump
-
Small kitchen appliances
If your home has heavy loads like air conditioners or electric heaters, you may need a higher capacity system.
Safety Tips for Solar System Installation
-
Always hire trained professionals
-
Use certified equipment
-
Ensure proper earthing
-
Avoid water contact with electrical components
-
Regularly inspect cables and connections
Safety should always be a top priority.
Long-Term Savings with a 3kW Solar System
Over 25 years, a 3kW solar system can save lakhs of rupees in electricity costs. Though the initial investment may seem high, the long-term financial and environmental benefits make it completely worth it.
Final Thoughts
Understanding how to install 3kW solar system properly can help you make a smooth and hassle-free transition to solar energy. With careful planning, quality components, and professional installation, you can enjoy clean, reliable, and affordable electricity for many years.
If you are looking for reliable solutions, expert guidance, and quality solar installations, Solar Prabha is a trusted name that helps homeowners move toward a brighter and greener future with confidence.